Saturday, January 3, 2015

Adding Bows To Totes and Purses


I often use two styles of bows on my purses and totes, and have a few tricks to share.  I use a variety of gros grain ribbon, without wire, and prefer this over satin ribbons.  I have found my machines sort of eat the satin and twist it around easily, the gros grain is more forgiving.

First I apply the wrap around ribbon, I use monofilament quilting thread on the top, and sometimes on the bottom.  You can also use a cotton on the bottom in a matching color to the ribbon.  This way if the monofilament pulls the bobbin to the top it will blend with the ribbon.

  • Bag or item to be embellished
  • Ribbon
  • Fray check
  • Monofilament thread, I prefer quilting type, I find it thinner and stronger
 
Using a larger basting stitch, I hold the ribbon in place as I sew, I do not use pins as I like to reduce the amount of holes put into the ribbon, also it shifts so it does need adjusting along the way.  I sew on the top of the ribbon, and again on the bottom, two rows of stitching.  I also try to sew the top in one direction, flip and sew in the opposite the bottom row.  This helps to not have it twist and pull the bag out of shape.

Once you have the ribbon around the bag, you can decide on your style of bow, either a tied bow or a looped bow, I will start with the looped bow, for this will be using a different sample from above.


Start by looping ribbon back and forth, for this tote the bow is about 4 inches, pinching in fingers add 2 loops per side.


Once you have the loops finish off with a center loop, which will form a circle, cut end off and included in the center, fray check is a good idea on this open edge.


Pin bow, now it is ready to be added to your bag.  I remove my presser foot and use the "top" of my buttonhole stitch, but a zig zag stitch set at "0" would achieve the same result.  I tack this back and fourth about 6-10 times.  You can see the tack in picture 2 - remember this is a clear thread, but it is there.  Be sure to sew through and secure all layers. 


Repeat on the bottom, I just push the bow up to do the same at the bottom of the bow, now it is tacked on top and bottom, 


 Trim the thread, to release the loops, and admire you perfect looped bow.


Now for the tied bow.  I sew my length of ribbon, in this case I use about 20 inches, I sew it perfectly perpendicular to the ribbon installed on the tote.  I fold the edges inward to the center, then I simply sew back and forth 6-10 times to secure it in place. 


Using what I call the Martha Stewart method of time a bow, I simply tie it starting like this then looping as if tying a shoe.


Trim ends, and treat with fray check, your bow embellishment is complete.

Examples of each on a completed tote.


Tuesday, May 13, 2014

More Scrap Quilting Items


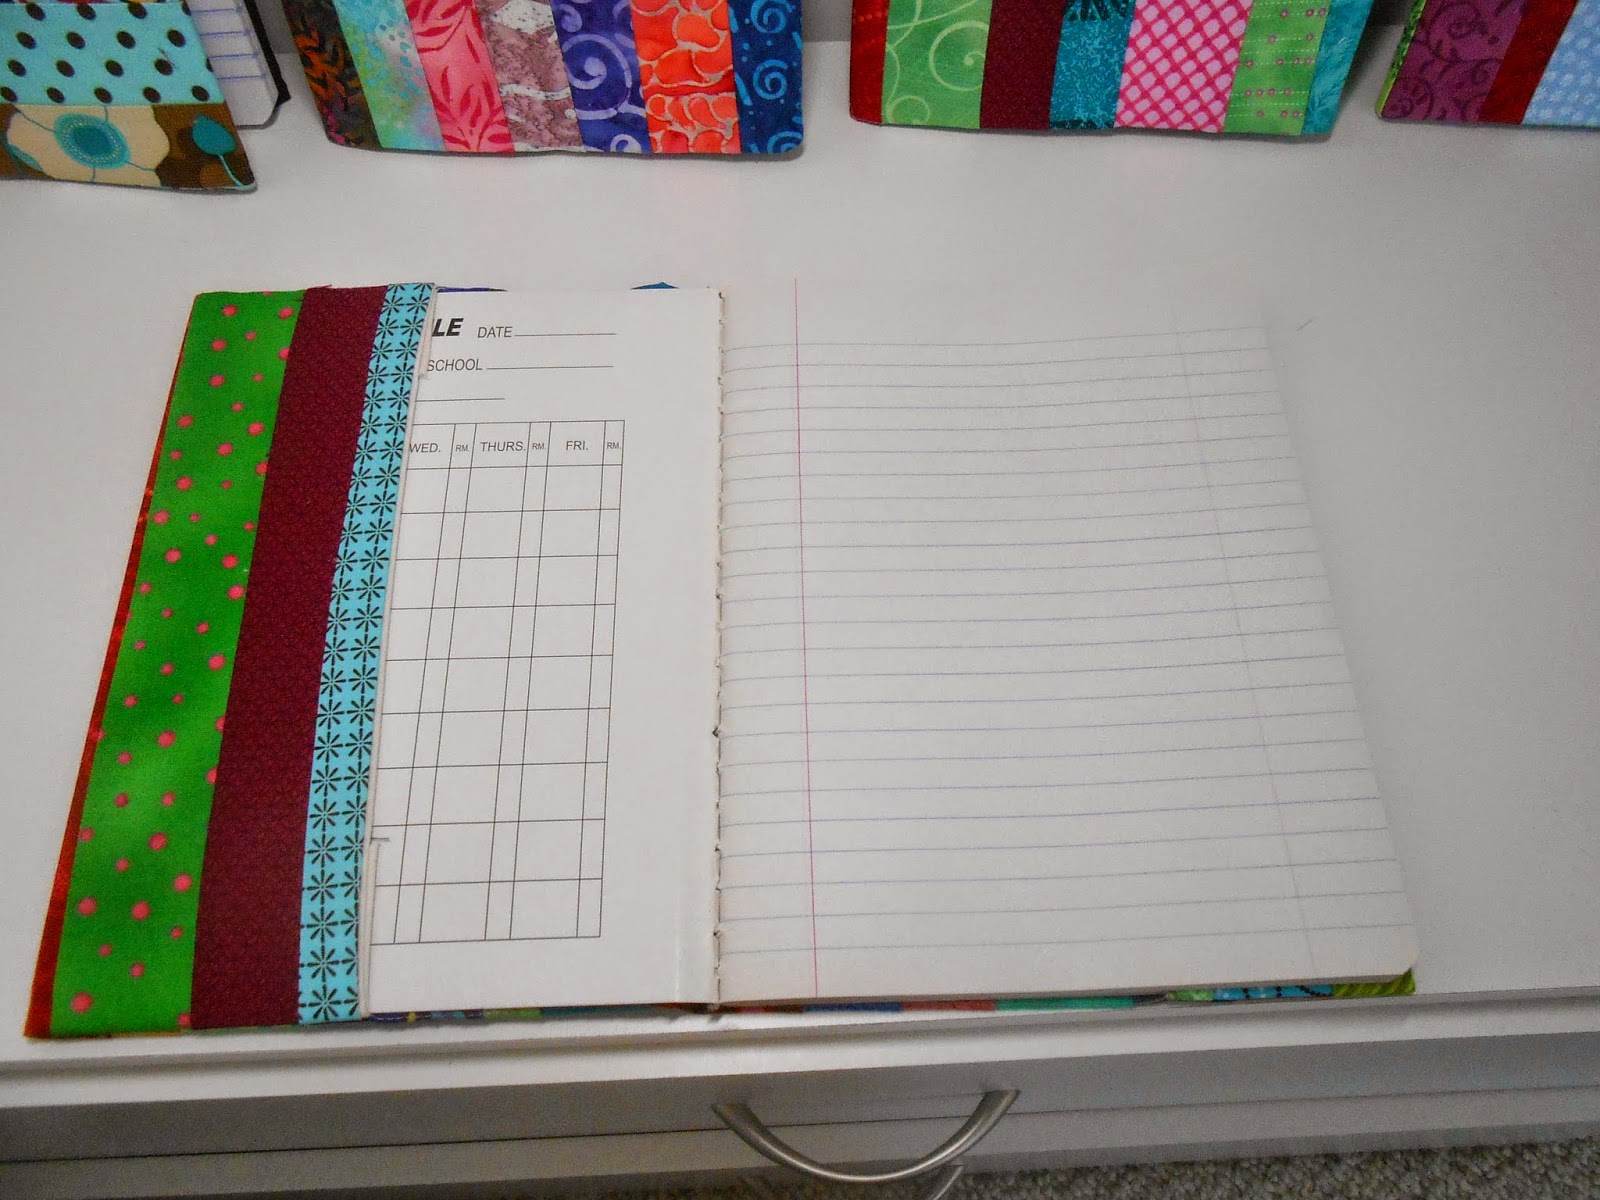
Continuing my scrap fabric clear out and have made quite a few new items.  Pieced cosmetic pouches, above.  Below are pieced composition books.  They were all quite fun to do and really knocked down my scrap.


 About a dozen composition book in total, in mostly random color combos.

 
Inside the piecing continues, the composition book slides into wrap around pockets, so when the composition book is used it can be replaced and continued to be used.


More shaped piecing, above my interpretation of a slice of watermelon, using some black buttons to be seeds.

 
As I worked through the scraps and make loads of yo-yo's in varying colors.  The above is a work in progress of an idea a large clutch that has been pieced and quilted with a sprinkling of these yo-yo flowers.  I have yet to complete any of these but plenty in the works.

Thursday, March 6, 2014

Impromptu Birthday Gift

 
I take a deep water exercise class at the YMCA, one of the ladies was turning 65 and this was the gift I made.  Most don't know that I sew and sew A LOT, so this received lots of raves.  The theme of the gift was to do something 65-ish, so my take was to sew on 65 buttons to this jean cosmetic pouch.

 
I have loads of buttons, it was fun counting and re-counting the buttons to make sure I got it right, I used red and white buttons, and lined it in a red and white polka-dot.  I think start to finish, including hand sewing 65 buttons was about 2 hours.  I used hand quilting thread to secure the buttons so I could do less hand sewing with a  stronger thread.

Wednesday, March 5, 2014

New Items From the Scrap Basket

 
I have spent some time going through my mountain of scraps and making a few pieced items.  Before Valentines day I made a bunch of these heart coin purses.  And below a few houses with raw edge applique and an assortment of embellishments.


The piles started like this, sorted by colors, I spent about two days ironing and sorting by size, it looks so ready to go when done, and kind of a relief to do some sorting and tossing. 


I started with the hearts and just sewed like colors then cut into my heart shape.  I dropped these off at Yellow Door before Valentines, but I like them so much I added a few to my etsy shop, and plan to offer them for the year. 


For the houses, I sort of played around with the size and made the zipper at the top of the roof.  A variety of windows, doors and fun shapes go into each one.  I used rick rack, buttons, ribbon flowers and some random quilting to highlight each house. 


I really like these and will continue to make house zip purses in vary shapes and sizes.  I have a few variations and shapes I will be adding through 2014.


Thursday, October 3, 2013

Custom order Mini Accessory Sets

 Picture 1
 
 Picture 2
 
Picture 3
 
Here is what I have made up, let me know if any look good :)

New Items Dopp Kits

 
I have finally mastered a box pouch or a Dopp Kit.  A Dopp Kit is a boxed shaped toiletries bag traditionally used by men to hold shaving and other supplies when traveling.  Often made of leather or vinyl, of course I only use the cutest of cottons, so sadly once again the boys get gipped. 

I have two sizes, each zip closures and tabs for easy zipper pull, the larger has a handle.  The best part of these pouches is no exposed seams, when you look inside it is beautifully finished, like all my other zip products.  This was essential for me to start offering these so it took a few trial and error and a peek at a few tutorials to get it right, I hope to offer more sizes in the future for now I have two.


Small size, which is more a mini size is 5"w x 3"d x 2.5-3"t.  They vary some as beyond the intitial cutting I sort of eyeball the rest so they do vary up to a 1/2" in any direction.


The large size, which also has a handle on the top is 7"w x 5"d x 4"t, these too may vary ever so slightly.  This is a great size to tuck in a weekend bag or use in the bath for morning routine.


It is hard to pick a favorite feature, but what I do love is the inside, no seams and when pulled open you can see the items. 

I have already been selling these locally at shows as well as Yellow Door Art Market.  I began offering them this week in my etsy store, small $12.00 and the large $18.00.
Related Posts with Thumbnails